A New Era - Sonos as Dedicated Computer Speaker
Update: July 8th, 2026 - Updated to accommodate newer products.
Back in December I wrote up how to turn a Sonos speaker into a desktop speaker for your Mac. That guide leaned on the Sonos Ray, which at the time was one of the only speakers in the lineup with any kind of line-in capability. A few months on, that has changed. Sonos has put out new hardware that makes the whole thing cheaper, simpler, and a lot less dependent on owning the one specific soundbar that happened to have a port. Good news if you're coming back to this: the setup costs less now than it did when I first wrote it.
I split my time between Southern California and the Pacific Northwest, and as the weather up north thaws into something resembling habitable, I've made my way back to Washington. The two desks could not be less alike. In SoCal I've got a big rectangular slab with room to spare for whatever nonsense I feel like piling on it. In Washington my desk is crammed into a corner, inexplicably triangular, and offers just enough room for a keyboard, a mouse, and a phone stand before it gives up. The Ray was perfect in California. In Washington it was a soundbar looking for a TV that wasn't there.
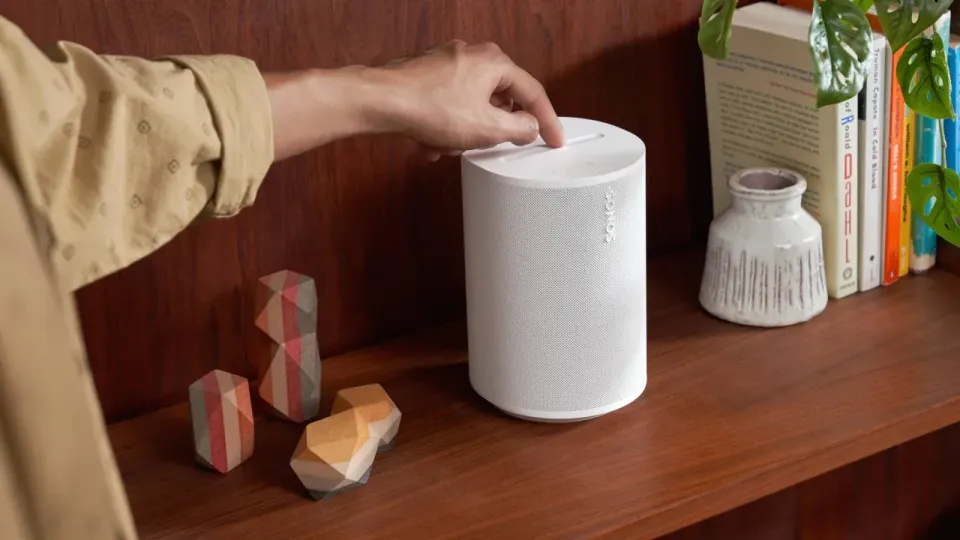
That is where the Sonos Era 100 and Era 300 come in, the replacements for the Sonos One (Gen 2) and the Sonos Five. The Era 100 lists around $219 these days and routinely dips to $179 during sales, while the Era 300 runs somewhere around $379, down from a higher list. There are differences across the line, most of them between the Five and the Era 300, but the part that matters here is simple. Both Era speakers added line-in.
One quick note before you go shopping. Sonos also sells an Era 100 SL for around $189. The SL is the microphone-free version, no Alexa, no voice control, but it has the same USB-C port and works for this exact line-in setup. If you only want a desk speaker and don't care about the smart-assistant features, it's the cheapest way in. Just know which box you're buying so you're not surprised by the missing mic later.
What you'll need
Here is where Sonos does something slightly maddening. Each Era has a USB-C port on the back, but you can't run USB-C straight from your computer to the speaker, which feels like the obvious thing they would let you do and pointedly didn't. Instead you need their USB-C to 3.5mm aux adapter, sold separately of course. With that in hand you'll also need a plain 3.5mm male-to-male cable to run from your Mac's headphone jack, or any source with one, into the adapter.
 Sonos
Sonos
Sonos USB-C to 3.5mm Line In Adapter
All in, a single Era 100 (or the cheaper SL), the adapter, and a basic male-to-male cable off Amazon now runs you somewhere in the $210 to $250 range depending on which speaker you pick and what the Era is selling for that week. That's a fair bit less than when I first wrote this. If you want a stereo pair you can roughly double the speaker cost, but you won't need a second adapter or cable, the first speaker feeds the second wirelessly. For now, given my corner-desk situation, I'm running a single Era 100 and have no complaints.
Setup
The setup is genuinely simple.
- Add the speaker to your Sonos system the way you would any other Sonos product.
- Connect the USB-C line-in adapter to the back of the speaker.
- Run the 3.5mm cable from the adapter to your device.
- In the Sonos app, select line-in as the source for that speaker.
That's the whole thing. You should be up and running. From here a few settings are worth changing, because the defaults are not doing you any favors.
Source Level
The first thing you'll notice is that it's quiet. Too quiet. There's a fix. In the Sonos app, go to Settings > System > {Your Speaker} and find the Line-In settings. Set the Source Level to "Mac Computer" or higher, using the Level numbers as your reference. The jump in volume is substantial.
Audio Delay
By default Sonos sets Audio Delay to "Max," which builds in a generous lag between what you do on your device and what actually comes out of the speaker. Set it to "Low." This all but eliminates the delay. What you give up is a buffer Sonos adds to smooth out playback on congested networks, so if your network is rough this might not be ideal, but for most setups Low is the right call.
Autoplay
Last one. I'd set Autoplay to use this speaker, and set the Autoplay volume slider to a sane level. Autoplay automatically flips the speaker to line-in whenever it detects a signal from your computer.
This one comes with a catch worth understanding before you turn it on. Say you've grouped the whole house for music and that group includes your computer-attached Sonos. An email lands, your Mac makes its little noise, and the computer speaker drops out of the group to play that one sound. Depending on how chatty your computer is, this ranges from mildly annoying to genuinely irritating. Worth knowing going in.
The volume slider earns its keep here too. If the speaker got cranked to some absurd level earlier in the day, by you, no judgment, Autoplay resets to your set volume the moment it picks up the line-in signal instead of blasting computer audio at full tilt. Your ears stay intact.
There are also third-party adapters all over Amazon. I have no idea if they work. Your mileage may vary.
I've been running this setup for a month or two now and it's been rock solid. No dropouts, no audio weirdness. If you want a lower-cost way to get Sonos onto your desk, or onto anything that can push audio out a 3.5mm jack, this is it.


Member discussion